
Last updated November 20, 2026
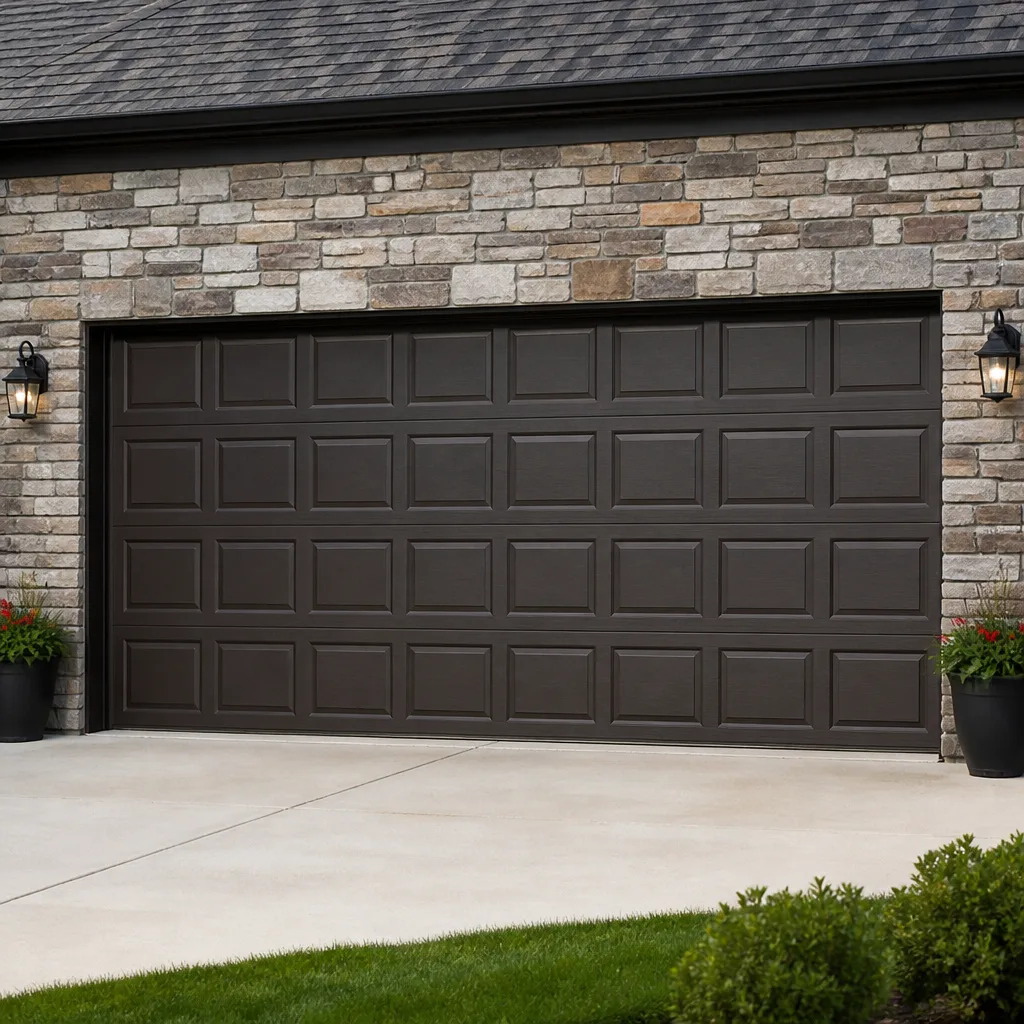 Raised-panel steel
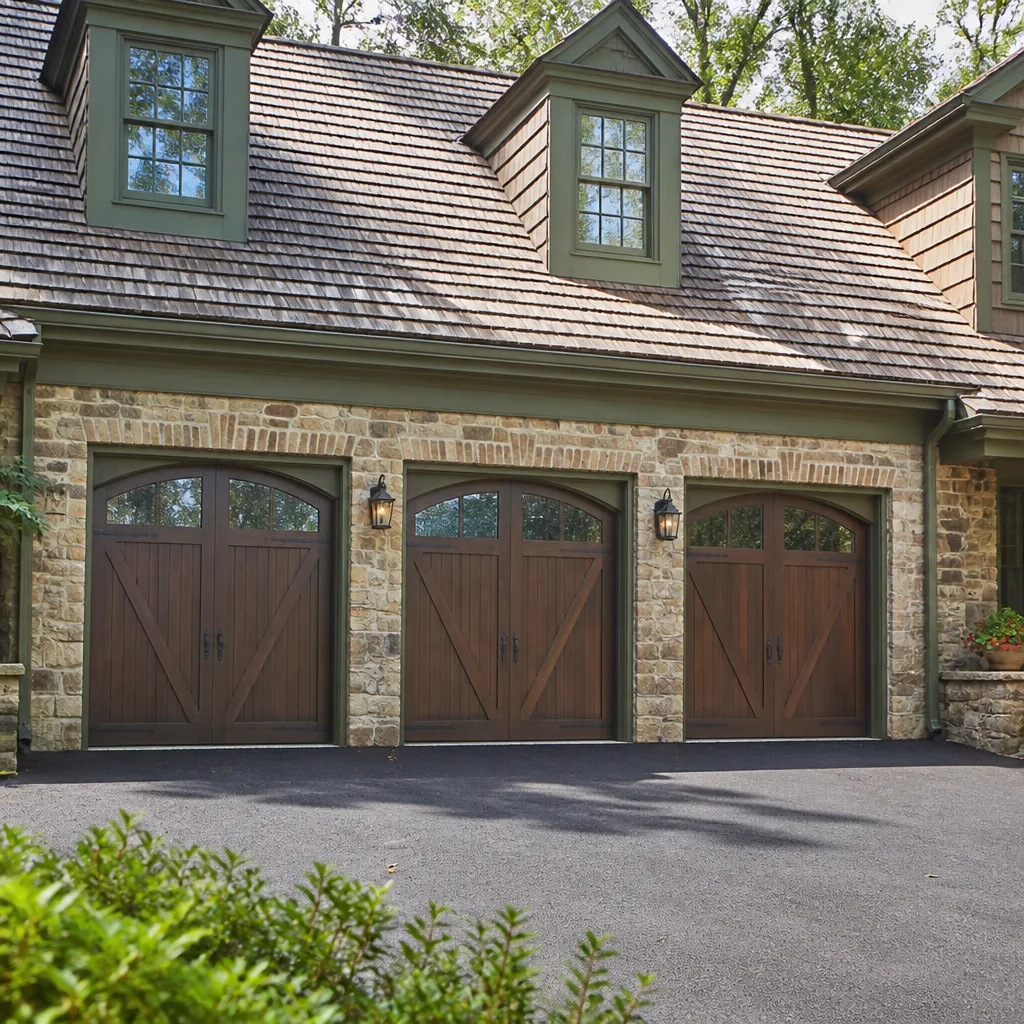 Carriage house
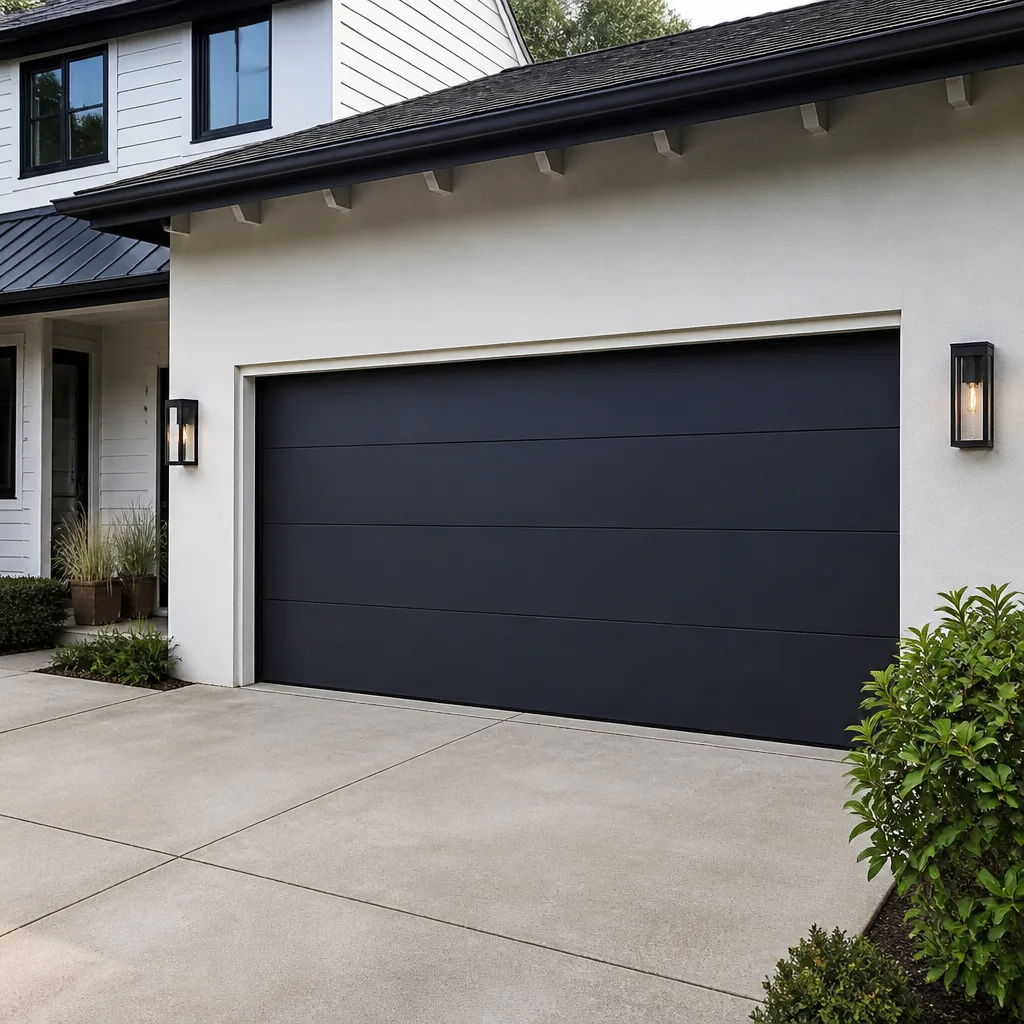 Modern flush
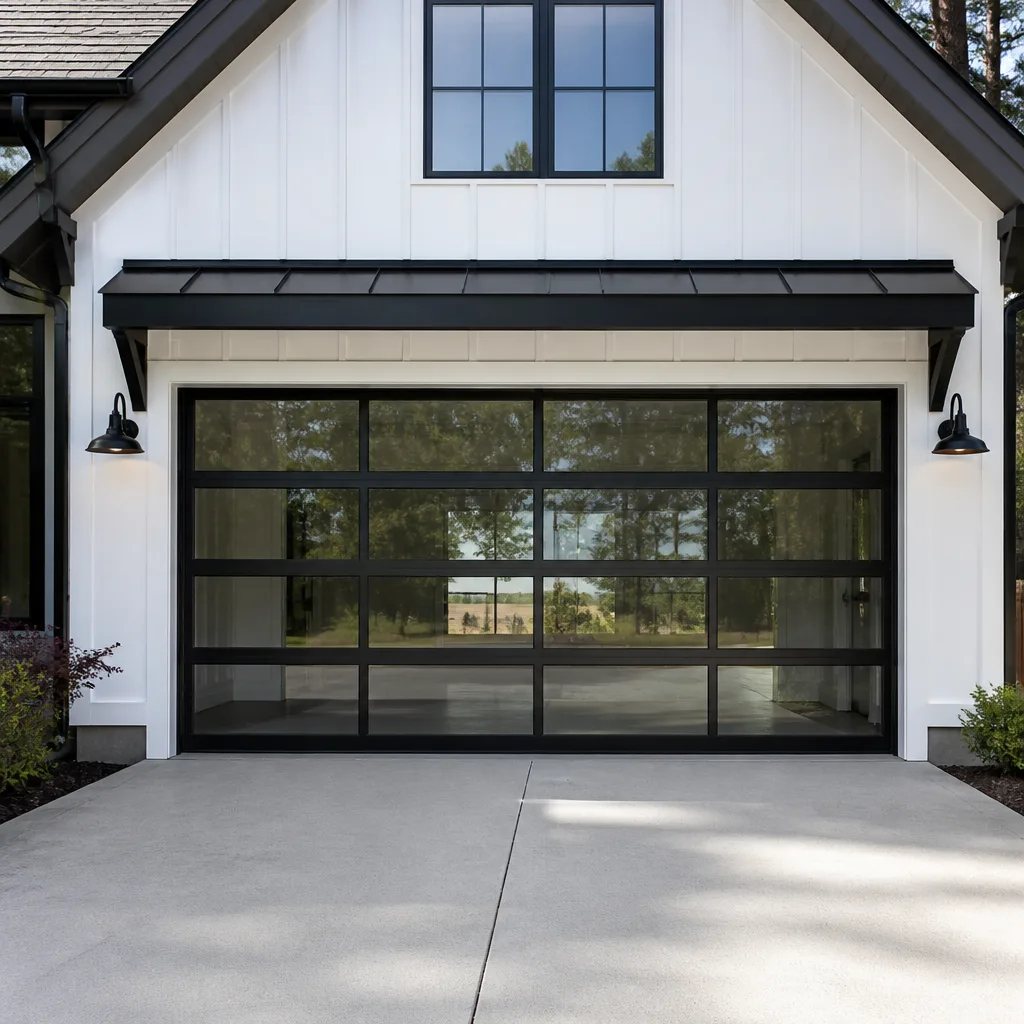 Full-view glass
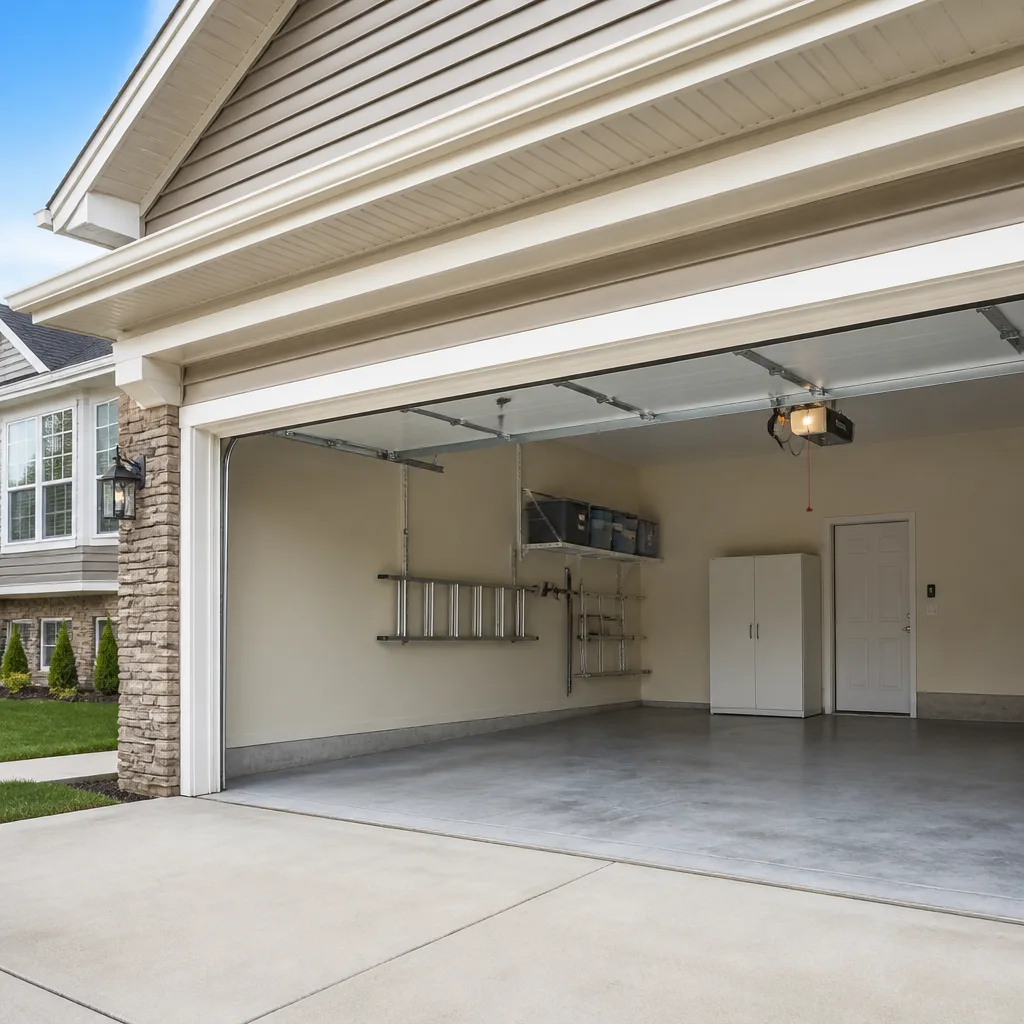 LiftMaster openers
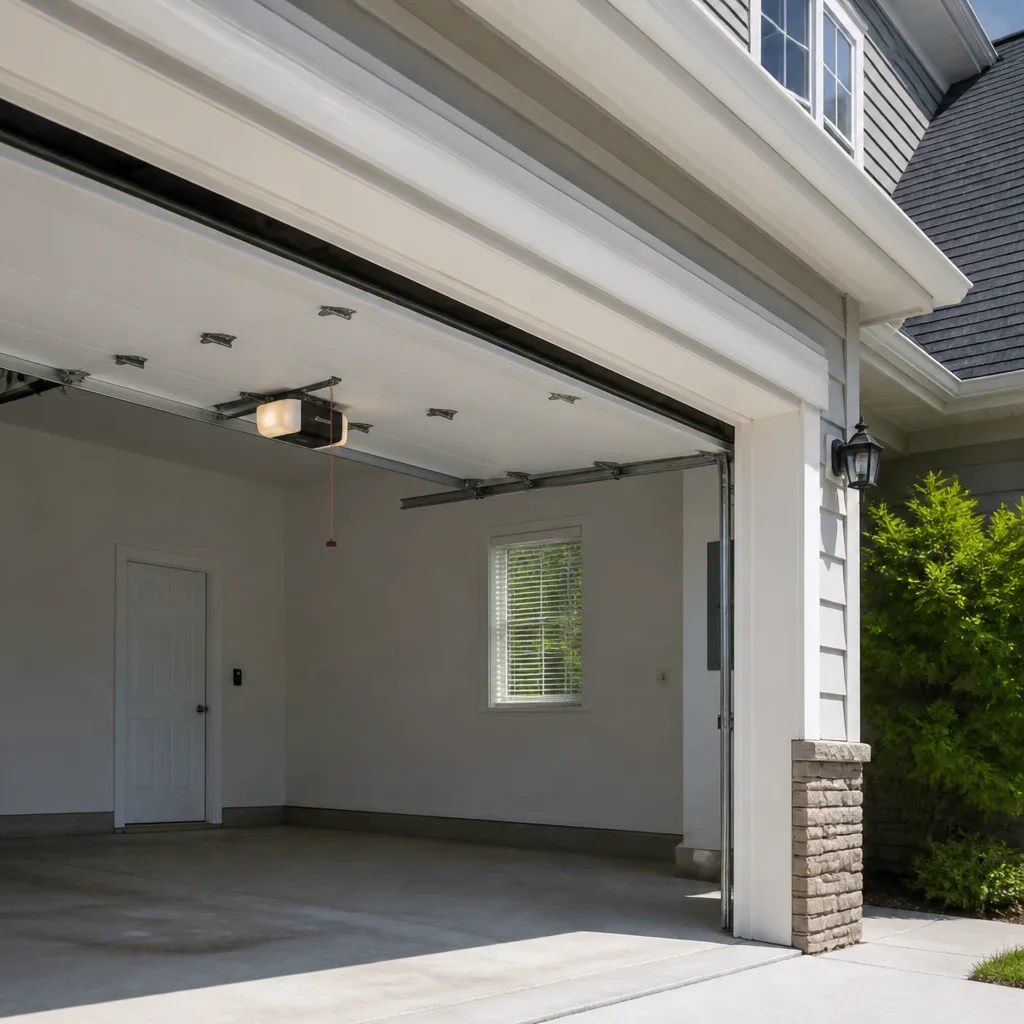 Chamberlain openers
Full 25-point door and opener safety check with every visit - springs, cables, rollers, tracks, and your LiftMaster or Chamberlain opener included
You get a price before we start. It does not change when the pro arrives.
Get your free estimateGarage Door Repair Maintenance Checklist for Arlington Homeowners
The most common “sudden” garage door failure in Arlington doesn’t start with a broken spring. It starts in July, when a roller bearing that hasn’t been lubricated in two years seizes up inside its own housing. The door starts dragging, the opener strains, and by the time it finally stops moving, most homeowners assume the spring snapped. It didn’t. That’s the gap this checklist closes. Generic maintenance lists tell you to check your door once a year and call it done. Ours is sequenced to Arlington’s actual weather: the summer humidity spike that kills bearings, the January freeze cycle that welds bottom seals to concrete, and the shoulder seasons when it’s cheap and easy to catch wear before it becomes a repair. Work through it in order and you’ll spend less time guessing what broke and more time knowing what’s about to.
Quick Answer
A garage door maintenance checklist for Arlington should be timed to the local climate, not the calendar year in general. That means lubricating rollers, hinges, and the torsion shaft in late spring before the August humidity peak, testing spring tension with a manual balance check every three months, inspecting the bottom seal before the first hard freeze, and looking at cables and drums for fraying and wear twice a year. Done consistently, those four habits prevent most of the failures we see across Arlington.
Styles & brands we work with
- Raised-panel steel
- Carriage house
- Modern flush
- Full-view glass
- LiftMaster openers
- Chamberlain openers
Table of Contents
- Why Arlington Doors Fail on a Different Schedule
- The Spring Checklist: What to Do Before June Ends
- Summer Humidity and the Lubrication Mistake Almost Everyone Makes
- The Five-Point Manual Balance Test
- Fall and Freeze Prep: Seals, Weatherstripping, and What to Inspect
- Cable and Drum Wear: What You Can See Without Tools
- Opener and Safety System Care by Brand
- The Arlington Month-by-Month Maintenance Calendar
Why Arlington Doors Fail on a Different Schedule
Garage doors fail in patterns. Those patterns are set by temperature swings, humidity, and how often the door runs. Arlington sits in a pocket of Northern Virginia where all three converge in a way that’s harder on garage doors than most of the country. Summers are humid enough that condensation forms on cold steel hardware overnight and dries by mid-morning. Winters swing between freezing nights and mild days, which is the exact recipe for a rubber seal to bond to concrete and tear when the door lifts. And the sheer density of Arlington housing means most doors run more cycles than a suburban door in a lower-traffic area.
Add the housing mix and it gets more specific. Neighborhoods like Ballston, Clarendon, and Shirlington have a lot of townhomes with single-car garages where the door is the main entry point for the household, not a storage bay. That means dozens of open-close cycles a day, every day. In older sections of Arlington near Ashton Heights and Lyon Village, we regularly see doors from Amarr, Wayne Dalton, and Craftsman that have been running reliably for years and are now at the age where the hardware, not the panels, is the weak point.
The result is a failure sequence that looks nothing like a generic checklist. Spring tension loss shows up first, usually in late winter. Roller bearing seizure peaks in late summer. Seal degradation accelerates through the freeze-thaw cycles of January and February. A maintenance plan that ignores this sequencing is a maintenance plan that’s always one step behind.
The Spring Checklist: What to Do Before June Ends
The work you do between April and June determines how well your door survives August. This is the window when you have time to fix small things before the humidity makes them worse. Here’s the sequence we recommend for Arlington homeowners.
- Lubricate all rollers, hinges, and the torsion shaft. Use a silicone-based or lithium grease lubricant. Apply it to the roller bearing housing (not the track), the hinge pivot points, and the length of the torsion shaft. Wipe off excess so it doesn’t collect grit.
- Clean and lubricate the tracks. Wipe the inside of each vertical and horizontal track with a damp cloth to remove accumulated grime and old grease. Then apply a light coat of silicone spray. Never use grease in the tracks: grease traps dust and dirt and turns the track into a grinding surface.
- Test the manual release and balance. Disconnect the opener using the emergency release cord. Lift the door halfway and let go. It should stay in place. If it drops or rises on its own, you have a spring tension problem. Details on this test are in the next section.
- Check the photo-eye alignment. The two small sensors near the floor of the door opening should have their lights solid, not flashing. Wipe the lenses with a soft cloth. Flashing sensors are the most common cause of a door that opens but won’t close.
- Inspect the bottom seal for cracking. Run your hand along the rubber seal at the bottom of the door. If it’s stiff, cracked, or leaving black residue on your fingers, it’s time to replace it. Do this in spring so it’s done before the freeze cycle.
- Tighten all visible bolts and brackets. Use a socket wrench on the hinge and bracket bolts. Vibration from daily use loosens hardware over time faster than you’d expect.
- Test the auto-reverse. Place a piece of wood or a rolled-up towel flat on the floor in the door’s path and close the door. The door should reverse as soon as it contacts the object. If it doesn’t reverse, the opener’s safety system needs service.
That’s roughly an hour of work for a two-car door, less for a single. The value isn’t just in the tasks themselves. It’s in the fact that doing them in this order forces you to look at the parts of the door that fail most often, at the moment when you still have time to act.
Summer Humidity and the Lubrication Mistake Almost Everyone Makes
Here’s the failure that catches more Arlington homeowners than any other: a door that worked fine in May starts dragging in August. The opener strains, the door travels slower, sometimes the opener kicks into safety reverse partway down. The instinct is to blame the spring or the opener. In our experience, the cause is almost always seized roller bearings.
Roller bearings are small. Each of the ten to twelve rollers on a typical door has a bearing that should be packed with lubricant. Summer humidity in Arlington accelerates oxidation on those bearings. Without lubrication, the grease dries out, the bearing seizes, and the roller stops rolling and starts sliding. Sliding rollers create drag on the track, and drag on the track makes the door feel heavy. From the driver’s seat of the car, it looks exactly like a spring failure.
And here’s the correction we make on almost every service call: homeowners who did try to lubricate used the wrong product. The single most common DIY mistake in Arlington garage door maintenance is spraying WD-40 on the rollers and hinges and calling it done. WD-40 is a solvent and light penetrant, not a lubricant. It removes the residual grease that was protecting the bearing and leaves the metal dry. In a week or two the bearing is worse off than it was before. So the door drags more, the homeowner sprays more WD-40, and the cycle continues until the door finally stops moving.
What to use instead:
- Silicone spray for tracks and door seals. It doesn’t attract grit and it stays slick under humidity.
- Lithium grease or a purpose-made garage door lubricant for roller bearings, hinges, and the torsion shaft. These products stay where you put them and last through the summer.
- White lithium in an aerosol for the opener rail and trolley if your opener manufacturer calls for it; check your model’s manual.
What to avoid:
- WD-40 on roller bearings. It strips the grease instead of replenishing it.
- Any grease in the tracks. Grease plus Arlington humidity equals a sticky track surface that collects dirt.
- Generic motor oil. It migrates, drips, and stains the door panels.
If your door already has seized bearings, lubrication alone won’t fix it. Seized rollers need to be replaced. That’s a straightforward job, and it’s one we handle across every brand on the door, including LiftMaster, Chamberlain, Genie, Clopay, Amarr, Wayne Dalton, Craftsman, and Raynor systems. If you’ve been chasing a “sticking door” all summer, garage door repair starts with confirming whether it’s bearings, rollers, or something else entirely, and a free estimate will answer that before any work begins.
The Five-Point Manual Balance Test
The balance test tells you whether your springs are holding tension before they fail. It’s simple, it takes five minutes, and it’s the single most useful diagnostic an Arlington homeowner can run on their own door. Run it every three months, or anytime the door starts feeling heavier than usual.
Safety first. Never attempt to test, adjust, or replace torsion or extension springs yourself. Springs under load store enormous energy, and a release under tension can cause serious injury. The balance test described here only involves lifting the door by hand. If the door fails any step, call a professional.
Here’s how the test goes:
- Disconnect the opener. Pull the emergency release cord so the door is on manual operation. Make sure no one is standing under the door.
- Lift the door to the halfway point. Raise it slowly to about waist height or the halfway point of its travel.
- Let go and observe. If the door stays where you left it, springs are balanced. If it slides down, springs have lost tension on one or both sides. If it slides up, tension is uneven.
- Repeat at the quarter and three-quarter positions. A correctly balanced door should hold at each of these positions within a few inches of where you let go.
- Listen for noise at each position. Squeaking or popping at the same point in the door’s travel usually means a worn roller, a dry hinge, or a bent track section.
If the door slides down at one or more positions, don’t assume the springs need replacing. Tension loss can come from loose cables, worn drums, or a torsion shaft that’s shifted. The point of the test is to know something is wrong before a spring snaps and the door becomes a safety hazard. Spring work is the most dangerous part of garage door service, and it’s why garage door spring repair is a job we’d only ever recommend for a trained technician with the right winding tools.
Fall and Freeze Prep: Seals, Weatherstripping, and What to Inspect
The freeze cycle is where bottom seals fail quietly. In Arlington, January and February typically bring cold nights followed by mild days. Moisture collects under the bottom seal overnight and freezes. When the door lifts in the morning, the ice bonds the rubber to the concrete, and the seal tears or stretches. Repeat that five or six times and the seal is compromised. You won’t notice until the first cold rain blows under the door, or until you turn the heat up and your energy bill moves.
What the seal inspection involves:
- Visual check along the full width. Get on the floor with a flashlight and look for cracks, flattening, missing chunks, or gaps between the seal and the concrete.
- The credit card test. Slide a credit card under the seal where the door meets the floor. If it slides through easily, the seal isn’t doing its job. You shouldn’t be able to push it through more than a short distance.
- Freeze-bonding evidence. Look for small tears or a stretching pattern at the seal’s edges. That’s the signature of a seal that’s been frozen to the concrete and pulled free.
- Side and top weatherstripping. Check the strips that run along the door jambs and across the top. These crack with age and let cold air in without any obvious sign once they’re compressed.
If the bottom seal is compromised, replacing it before the first hard freeze is far cheaper than letting it go. A new seal also keeps out mice and insects, which matters more than most homeowners realize in Arlington’s older neighborhoods where alleys and mature trees give rodents plenty of cover.
One more fall task: check your garage door opener’s manual release for the season. The handle should be easy to pull, and the cord shouldn’t be tangled. If you ever lose power during a winter storm, you’ll be glad it works cleanly.
Cable and Drum Wear: What You Can See Without Tools
Cables and drums are the second most critical system on a garage door after the springs, and they’re the one homeowners can actually inspect without getting close to anything dangerous. Cables run from the drums at the top corners of the door down to the bottom brackets. Over time they fray, kink, and corrode.
Here’s what to look for, from the ground, without tools:
- Fraying near the drum. Look at the cable where it winds onto the drum. If you see individual wires separating or a fuzzy appearance, the cable is compromised. Frayed cables can snap without warning.
- Kinks and bends. A cable that has kinked at a bend point is a cable that’s about to fail. Kinks usually happen when the door has come off track or been manually forced.
- Rust or discoloration on the cable. Cables are galvanized steel. Heavy rust indicates age and possible internal corrosion, which reduces breaking strength.
- Misaligned drums. Look at the drums at the top of each side. The cable should wind evenly in the grooves. If the cable is jumping the grooves, overlapping, or bunched to one side, the door has a serious cable or spring problem, and it could fail under load.
- Cable slack. A cable that looks loose or droops (especially on a closed door) means tension has been lost somewhere in the system.
The threshold for calling a service professional is straightforward. Fraying, kinks, and drum misalignment are all service-call triggers, not maintenance items. Rust that’s minor and surface level can wait for your next scheduled visit, but any visible wire separation means don’t operate the door until someone qualified has looked at it. Because a snapped cable can whip under tension, we don’t recommend homeowners touch any cable component at any time.
Opener and Safety System Care by Brand
The opener is the last system in the checklist, and it’s both the easiest to overlook and the easiest to check. Most opener failures in Arlington are not motor failures. They’re sensors, remotes, circuit boards, or drive mechanisms that gave out from wear or voltage events.
What to check on a scheduled basis:
- Test the auto-reverse every month. The federal safety standard for openers requires that a closing door reverse when it contacts an object. Put a piece of wood flat on the floor in the door’s path and close the door. It must reverse on contact.
- Test the photo-eye sensors every month. Same approach, but block the sensor beam with your hand. The door should reverse.
- Test the force setting every three months. Different openers use different procedures; if your manual has one, follow it. If the door is heavy enough to strain the opener, this is where you’ll find out.
- Replace remote batteries once a year. Put it on the same rotation as your smoke detector batteries.
- Lubricate the opener rail. Use the lubricant the manufacturer specifies for your rail and trolley, and only where the manual tells you to.
Here’s where brand matters. The three most widely installed opener families in Arlington are LiftMaster, Chamberlain, and Genie, and each has its own quirks. LiftMaster and Chamberlain share a great deal of architecture (they’re both under the same parent group), and their common failures are the wall control board and the safety sensor wiring. Genie openers have their own drive systems and their own diagnostic patterns, especially around the carriage and chain. Craftsman openers, which are widely present in older Arlington homes, are often built on Chamberlain architecture but with their own model-specific parts, which is why identifying the exact model matters before ordering anything.
The practical takeaway: don’t replace your opener because it’s making a strange noise. Replace it when the diagnosis tells you that repair costs and reliability have crossed. A garage door opener repair diagnosis from a technician who works on all of these brands every week usually turns up a fixable component rather than a dead motor.
The Arlington Month-by-Month Maintenance Calendar
This is the sequenced calendar, timed to Arlington weather rather than the alphabet. If you only do half of these, do the ones in June and October.
January and February
- Watch for the bottom seal freezing to the concrete. If it does, carefully break the bond before operating the door and replace the seal once weather allows.
- Run the five-point balance test. Spring tension loss shows up most often after the coldest stretch of winter.
- Test auto-reverse and photo-eye function after any cold snap or power outage.
March and April
- Full visual inspection of cables, drums, and rollers once the freeze cycle breaks.
- Clean the tracks. Winter grit has accumulated and spring operation will grind it in.
- Check weatherstripping for cracks that winter left behind.
- Replace bottom seal if any damage is visible.
May and June
- Full lubrication: rollers, hinges, torsion shaft, and hinge pivots. Use the right products.
- Run the balance test again. Get any tension loss corrected before humidity sets in.
- Tighten all bolts and brackets.
- This is the window when seized bearings are cheapest to catch and cheapest to fix.
July and August
- If the door starts dragging, don’t wait. That’s the humidity-and-seized-bearing window in Arlington.
- Re-lubricate anywhere you skipped in June.
- Check the photo-eye sensors weekly. High temperatures can loosen sensor brackets.
- Watch for opener strain: if the opener runs longer than it used to, that’s the signal to diagnose before something worse.
September and October
- Full fall inspection: seal, weatherstripping, cables, drums, tracks.
- Lubricate before temperatures drop. Grease works better in warm weather.
- Test auto-reverse and sensors again for the coming season.
- This is the second most important window in the Arlington year. Use it.
November and December
- Fresh battery in remotes.
- Confirm the emergency release works cleanly. You’ll want it if power goes out.
- Final visual inspection of everything above.
- If spring tension loss shows up in the balance test, don’t defer to spring. Spring work on a cold door is no easier than spring work on a warm one, and the failure risk only rises.
If your door’s brand is Amarr, Wayne Dalton, Craftsman, or Raynor, the calendar doesn’t change but the inspection specifics might. Each of those manufacturers has its own track and hardware designs, and knowing which fasteners loosen on which model is part of what a specialist brings to the visit. Covering the door, opener, and springs together on one call, rather than splitting the work across separate visits, is what Arlington Garage Door Repair Experts is built around: one specialist, one diagnosis, one result. If you need more than a callout for the schedule, the deeper service overviews cover each failure mode in its own detail page. If you have a question about a maintenance point before your next checkup, call us at (844) 524-5950 and we’ll walk you through it over the phone.
Common Mistakes to Avoid
- Using WD-40 on rollers and hinges. It’s a solvent, not a lubricant. It strips the grease off bearings and makes summer seizure more likely. Every Arlington service call where a homeowner tried to fix it themselves and made it worse involved this product.
- Assuming a dragging door means a bad spring. Nine times out of ten, in our experience, a door that runs fine in May and drags in August has seized roller bearings, not a spring failure. Diagnose before you replace.
- Greasing the tracks. Grease in the track collects dust and forms a sticky paste that grinds against the rollers. Use silicone spray or nothing.
- Ignoring the balance test because the door “still works.” A door that slides down when you let go at the halfway point still opens and closes, until the day it doesn’t. The test is your early warning system for spring failure.
- Skipping the bottom seal check before the first freeze. Arlington’s freeze-thaw cycle is exactly what tears seals. Check in October, replace in October, and you avoid a damaged seal all winter.
- Pulling the emergency release while the door is in motion. This is the single most dangerous DIY mistake. It can release a loaded door under load and cause serious injury. Stop the door first, then release.
- Assuming a “brand name” means you don’t need maintenance. Amarr, Wayne Dalton, and Craftsman build good doors, and their hardware wears out just like anything else. Brand reliability is a reason to trust the door; it isn’t a reason to skip the checklist.
See the difference
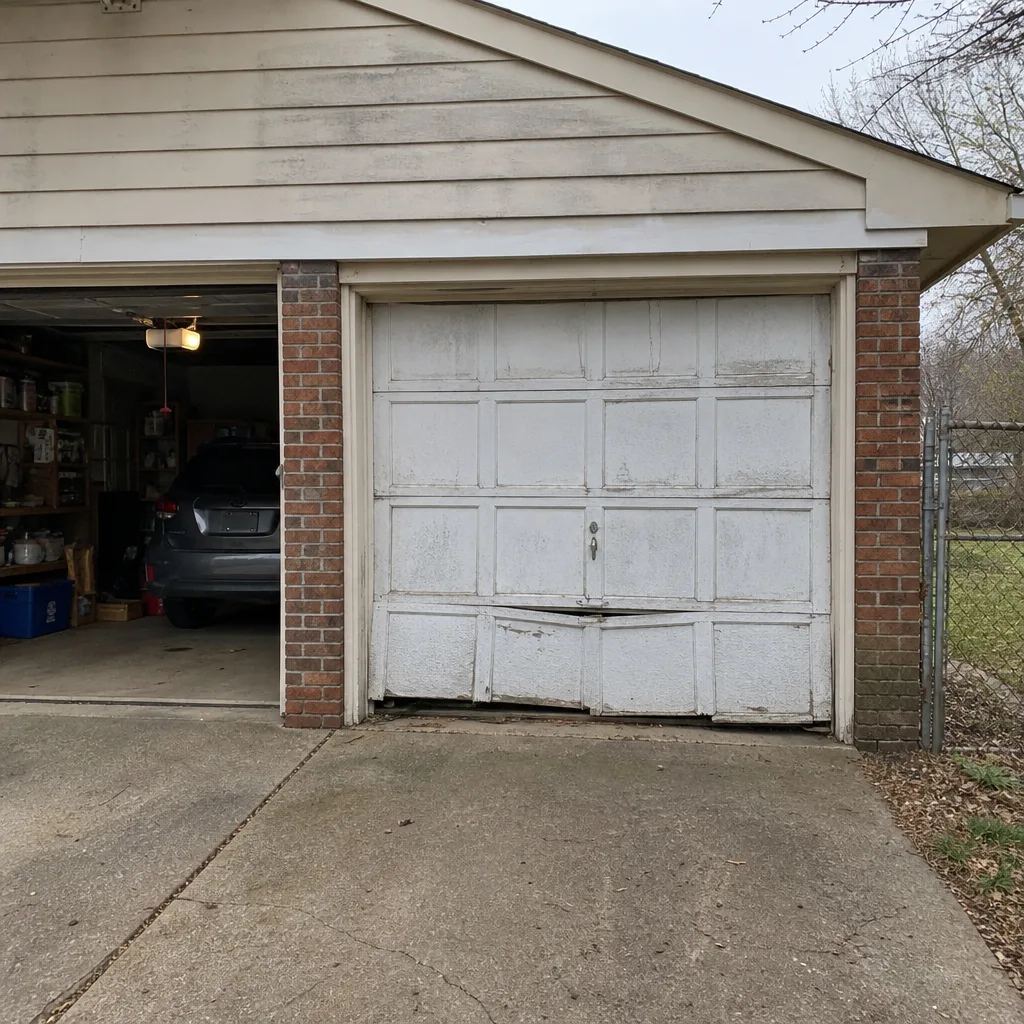 Before
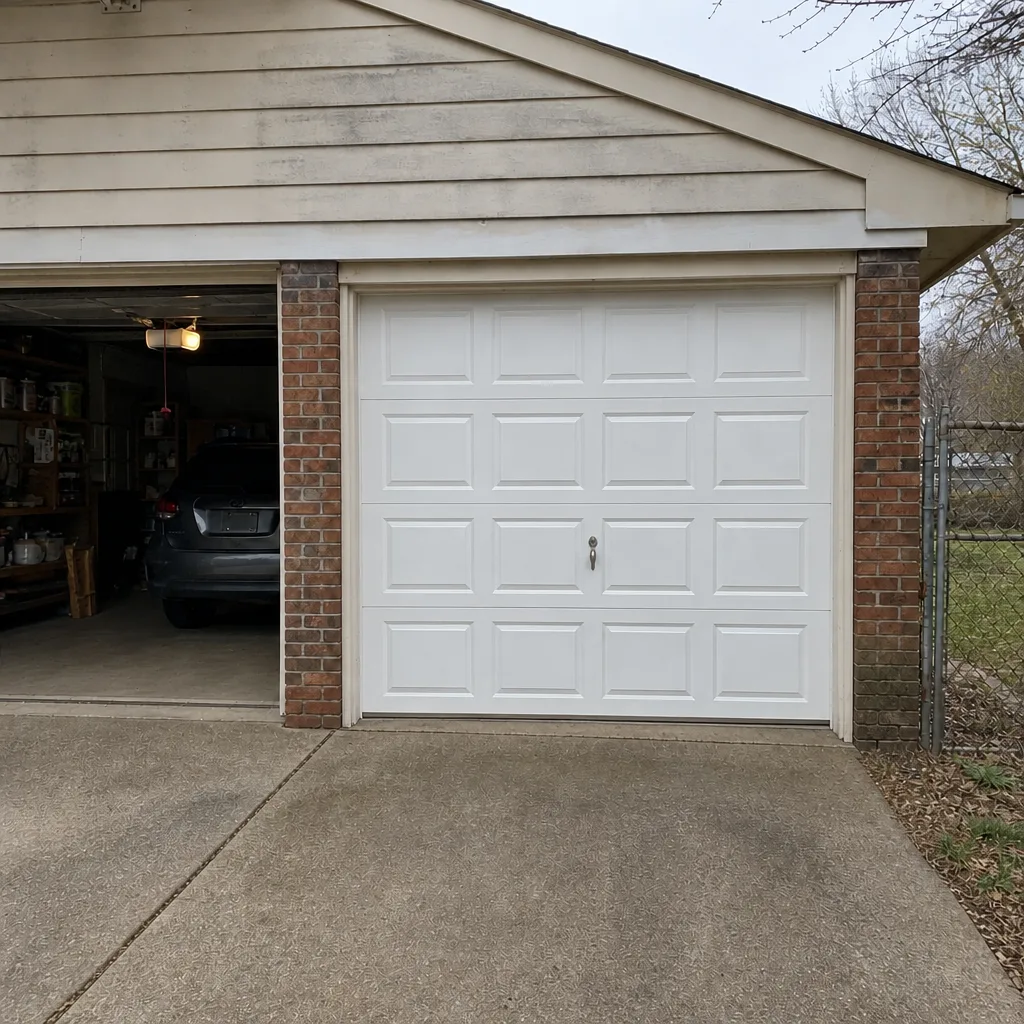 After
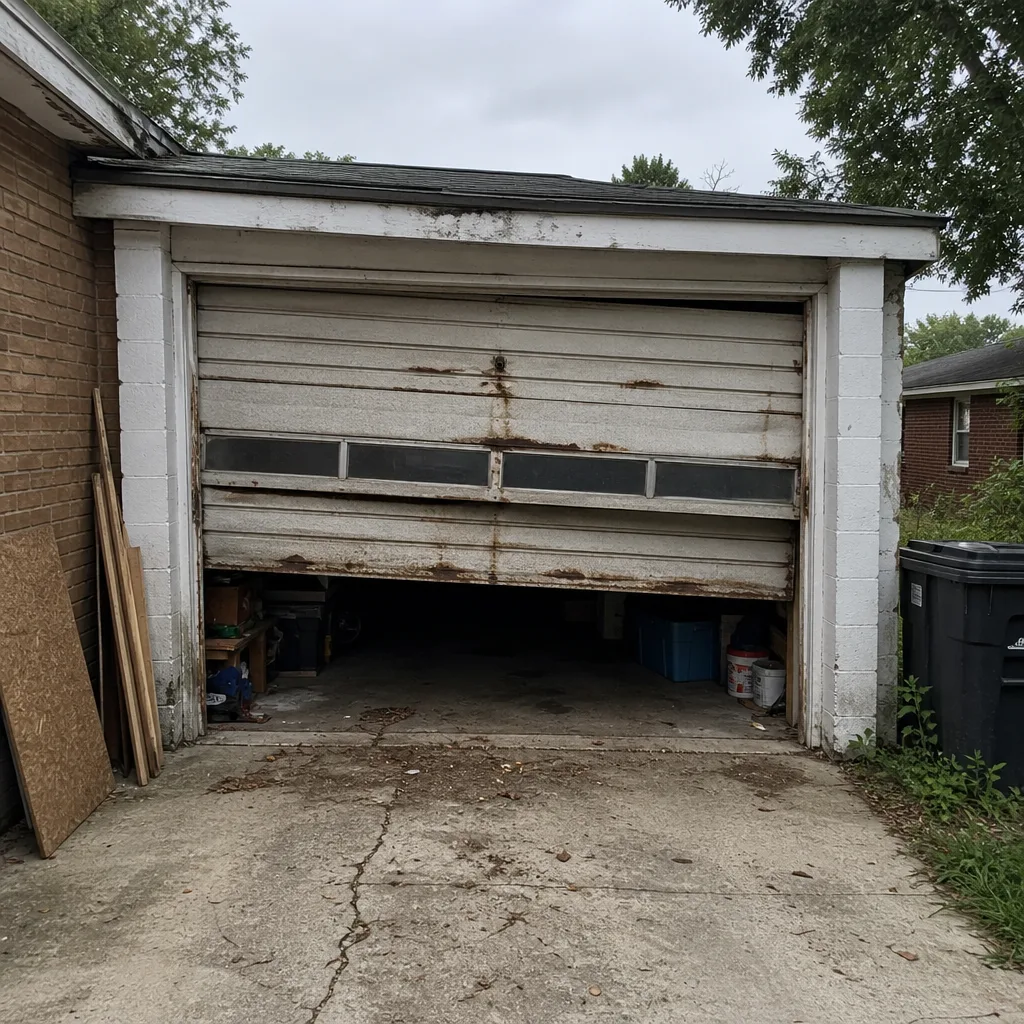 Before
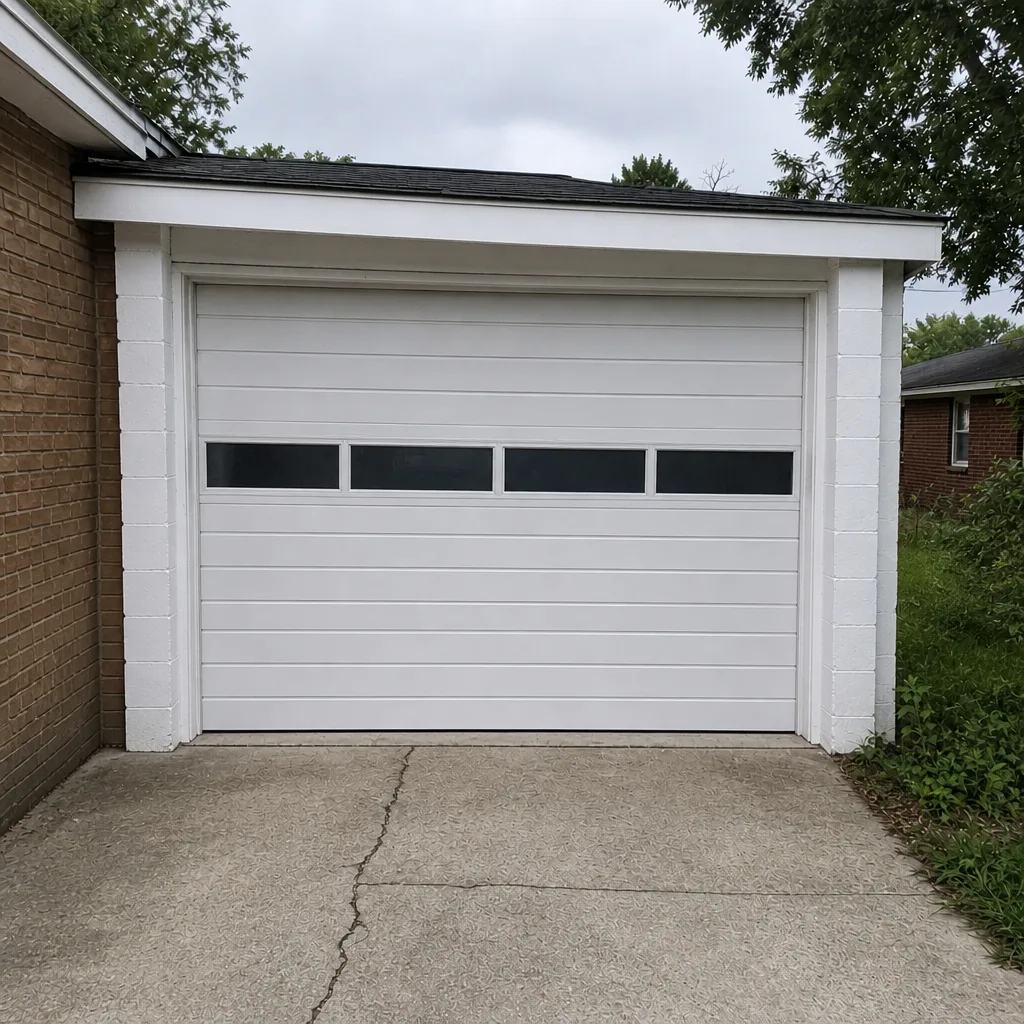 After
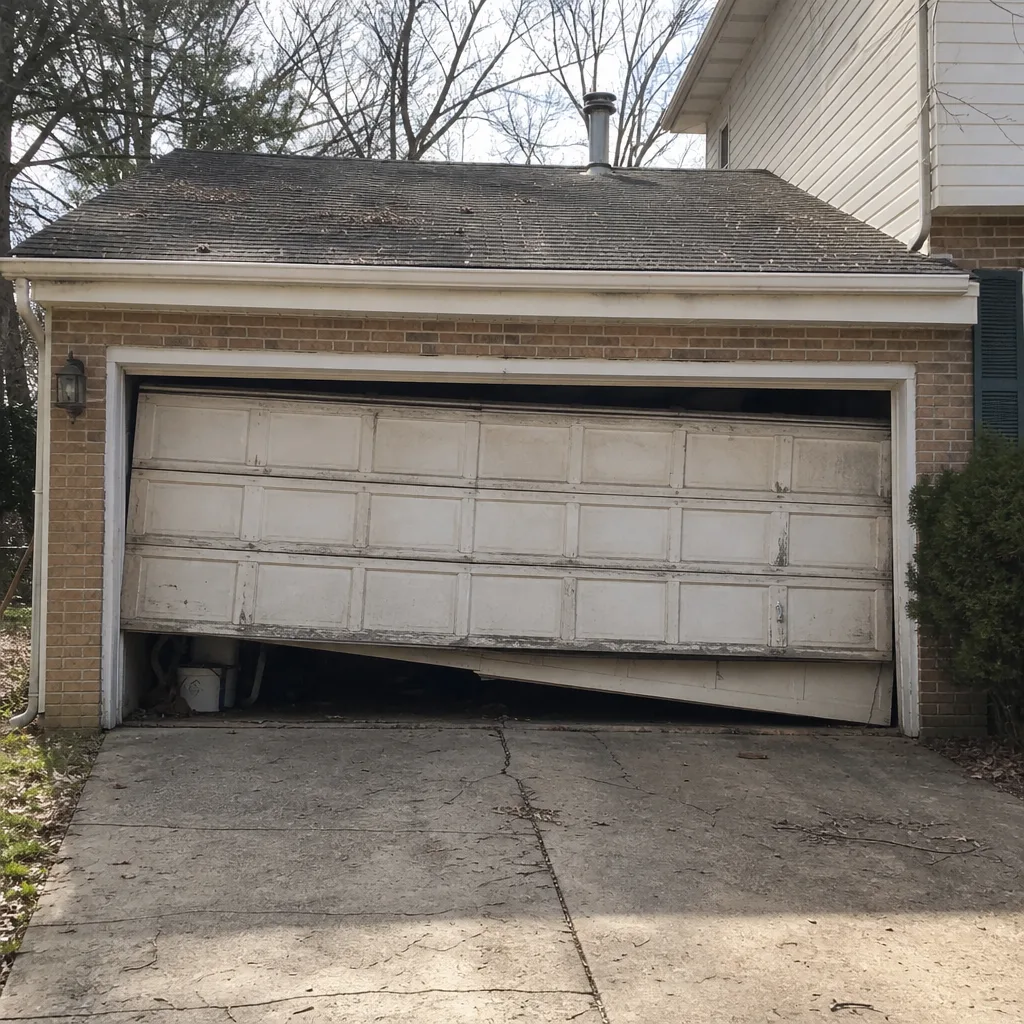 Before
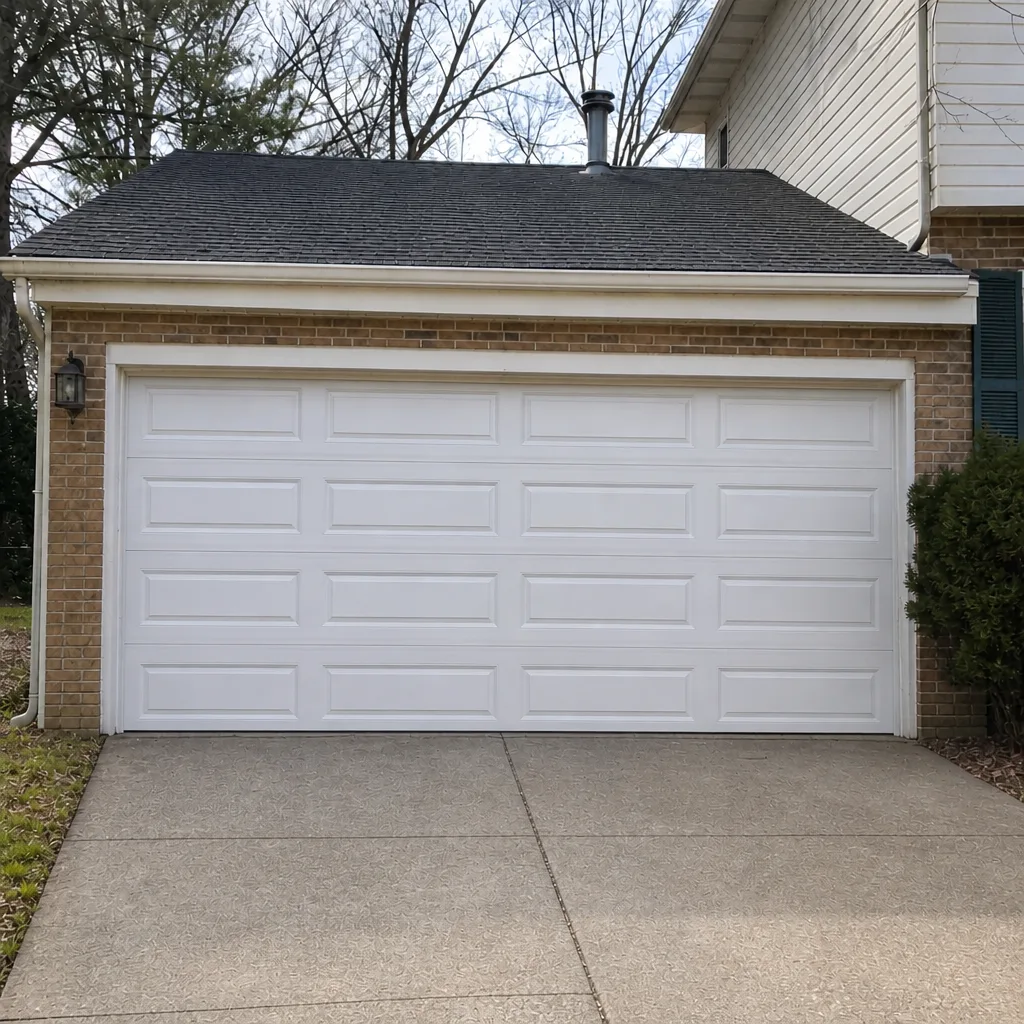 After
When to Call a Professional
Some of this checklist you can do yourself, and you should. But a handful of items are not DIY, and we’d rather you call than improvise.
Call a professional if your balance test fails at any point, if you find frayed, kinked, or overlapping cables, if you see drums that are misaligned or cables jumping grooves, if the door has come off its track, if the auto-reverse fails to trigger, or if the door starts making a sound it didn’t make last week. And if you suspect the springs are losing tension, don’t touch them: torsion and extension springs store enough energy to cause serious injury, and only a trained technician with proper winding tools should handle them. If you’re unsure, the safest course is to keep the door closed and call.
Arlington Garage Door Repair Experts offers free estimates in Arlington. Call (844) 524-5950. We answer 24/7. Fast dispatch from 7am to 7pm, Sunday through Friday. Springs, openers, and panels are covered in one visit, and the price is set by a written estimate before any work starts.
Frequently Asked Questions
A garage door in Arlington should get a full lubrication and inspection twice a year, a balance test every three months, and monthly safety-system tests. The twice-yearly timing matters here because Arlington’s humidity and freeze cycles each hit the door differently: spring lubrication protects against the humidity spike, and fall lubrication protects against the freeze cycle. Call (844) 524-5950 for an exact quote on a professional service visit; estimates are free.
Seized roller bearings are the most likely cause. Arlington’s summer humidity dries out bearing grease and accelerates oxidation, so rollers stop rolling and start dragging along the track. That drag is what makes the door feel heavy. It’s a roller and lubrication problem, not usually a spring failure, and it’s fixable without replacing major components. Call (844) 524-5950 if the door is dragging and we’ll confirm the diagnosis.
Yes, the lubrication itself is a homeowner task: rollers, hinges, and the torsion shaft are all reachable without removing anything. Use lithium grease or a purpose-made garage door lubricant, and never WD-40 on bearings or grease in the tracks. What you shouldn’t do yourself is anything involving springs, cables, or drums. Those carry real injury risk. Call (844) 524-5950 if you’re not sure which part is the problem.
Run the five-point manual balance test. If the door slides down or up when you let go at the halfway point, one or both springs have lost tension and are at risk of failing. Other warning signs are a visible gap in the spring coil, a door that only opens a few feet, and a loud pop when you last operated it. Never test or adjust a spring yourself. Call (844) 524-5950 for spring repair and we’ll diagnose it safely.
Yes, if it’s not in good condition. The freeze-thaw cycle in Arlington bonds the rubber seal to the concrete overnight, and when the door lifts in the morning, the seal tears or stretches. That damage isn’t always obvious until you test it with a credit card or notice a draft. Replace the seal before the first hard freeze and it won’t be a problem. Call (844) 524-5950 if you want a professional inspection.
The estimate is free, and the price is set per job by a written estimate before any work starts. Maintenance-related repairs (rollers, hinges, seals, lubrication) tend to be the smaller end of the range, while spring and opener work runs higher depending on the parts. We quote after we’ve seen the door, so the number we write down is the number you agree to. Call (844) 524-5950 for a free estimate.
The Bottom Line
A maintenance checklist that works in Arlington is a checklist timed to Arlington’s weather. Lubricate before the humidity hits, inspect the seal before the freeze, run the balance test every three months, and use the right lubricant. Skip the WD-40. Don’t touch the springs. Look at your cables and drums twice a year with a flashlight. That’s the whole system, and it’s the same one that keeps your door, opener, and springs from failing all at once. If you’re not sure about a symptom, or if the balance test fails, or if the door is dragging and you’ve done the obvious things, that’s when to call. Call (844) 524-5950 for a free estimate. We answer 24/7. Fast dispatch from 7am to 7pm, Sunday through Friday. The price is quoted and agreed before any work starts.
Written by the team at Arlington Garage Door Repair Experts.